
Sinclair ZX Spectrum
Playing with Clive Sinclair's masterpiece
Get in touch with the ZX Spectrum
Cooling down the ULA and building an audio cable
Composite video mod
divMMC Future, a SD card reader
Replacing the keyboard membrane
Conclusion
Linkography
Introduction
My first contact with the Sinclair ZX Spectrum was during 1980's while visiting some my parents' friends. I recall this strange little box that was for me a very interesting computer. My interest towards this machine never completely faded, as it was quite clever and interesting. More than thirty years later, I finally decided to seek for a 48K model and after a few unsuccessful auctions, I could manage to buy one on a very well-known website.
Get in touch with the ZX Spectrum
Fig. 1 and 2 shows my first Sinclair ZX Spectrum, as I received it. It was a little crusty, but overall in a very good conditions. The first problem was that the guy sent me a ZX81 power supply. The voltage rating was the same (9 V D.C. unregulated), but the current rating was slightly inferior (1.2 A instead of 1.4 A) and, more importantly, the jack power connector was not compatible with the machine. In fact, the Spectrum requires a barrel connector with a central negative pin. Beware of that detail as it is somewhat different from what it is usually found in more modern devices: a wrong power supply connection can very possibly fry a considerable amount of electronic components in the Spectrum circuitry.
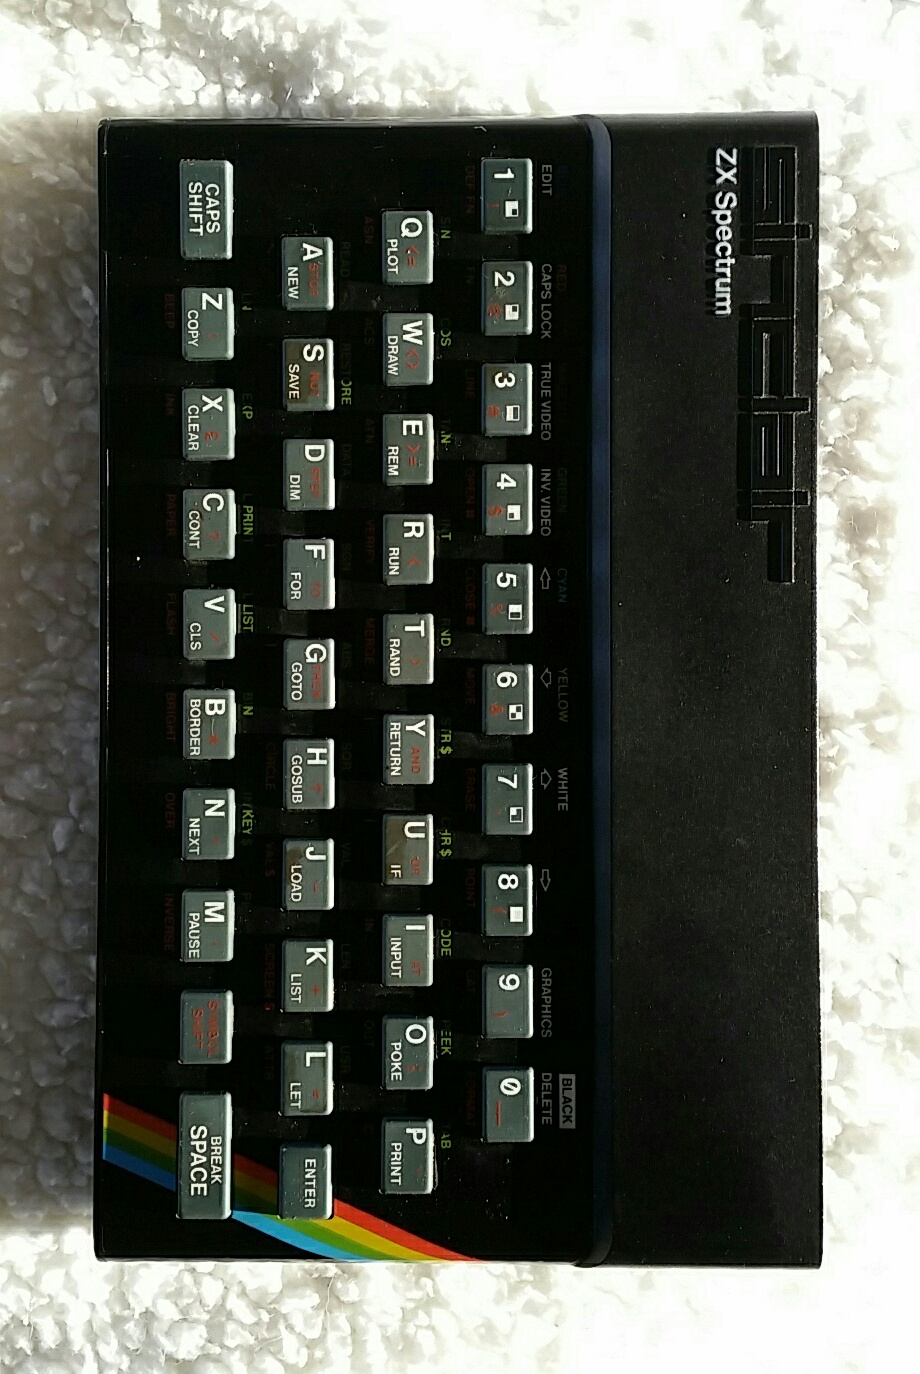
Fig. 1: My Sinclair ZX Spectrum, as I received it, before being throughly cleaned.
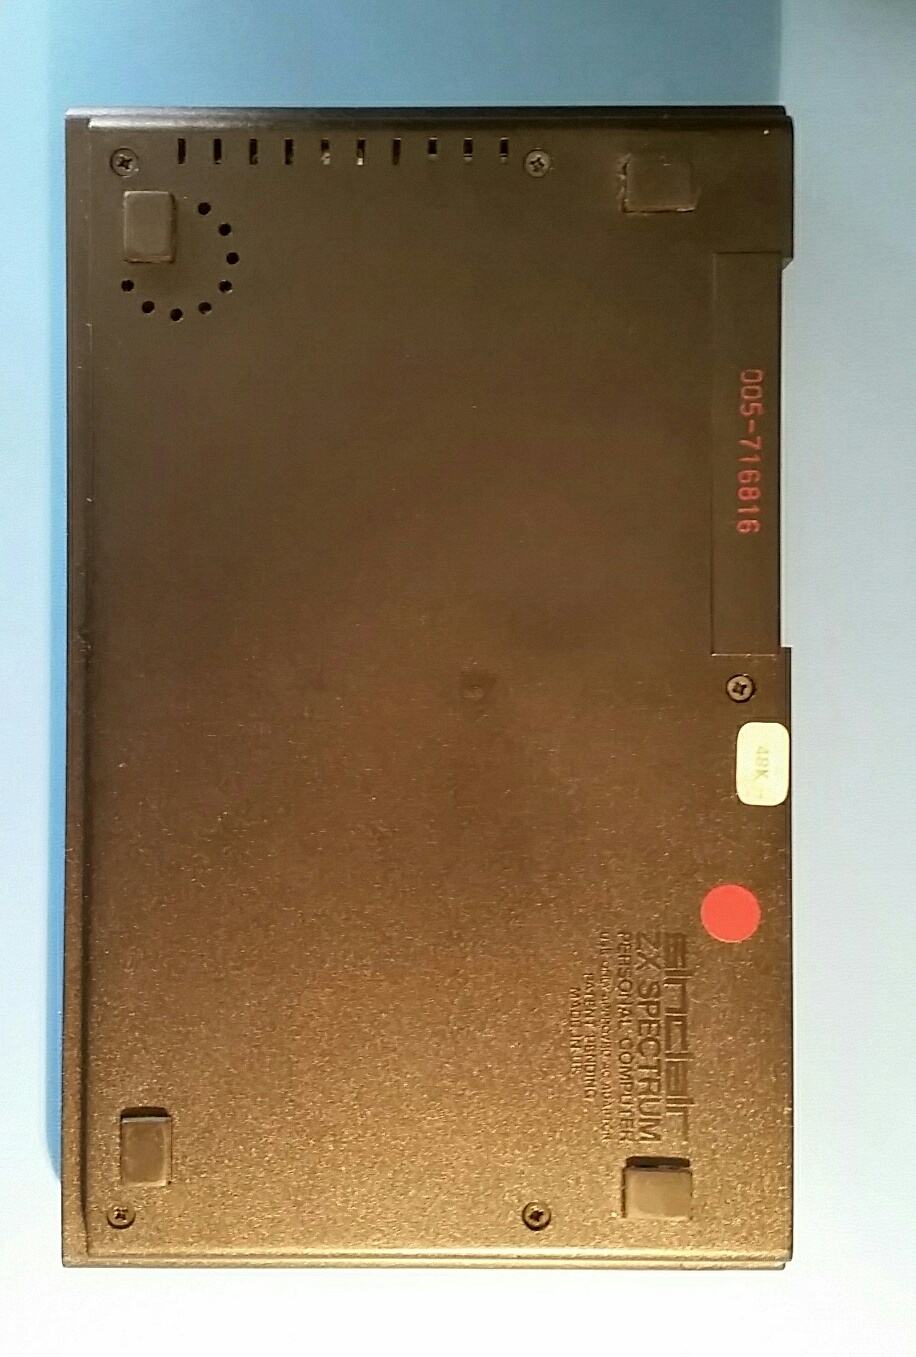
Fig. 2: The back of the machine, with the sticker that indicates that it is a 48K machine.
I found a barrel power connector in my stock of electronic components and I powered on the Spectrum with my bench power supply. While working with 9 V, the little Sinclair draws 600 mA and I noticed that this current tends to decrease a little when the voltage is increased and vice versa. The original power supply being non stabilised, the Spectrum does not require to have exactly the nominal voltage every time. However, this behaviour indicates that the little machine contains some sort of switching converter somewhere. I could manage to find an old 14-inch CRT television that I connected to the Spectrum via the antenna and tuned on the appropriate channel. Figure 3 shows the well-known welcome screen from Sinclair.
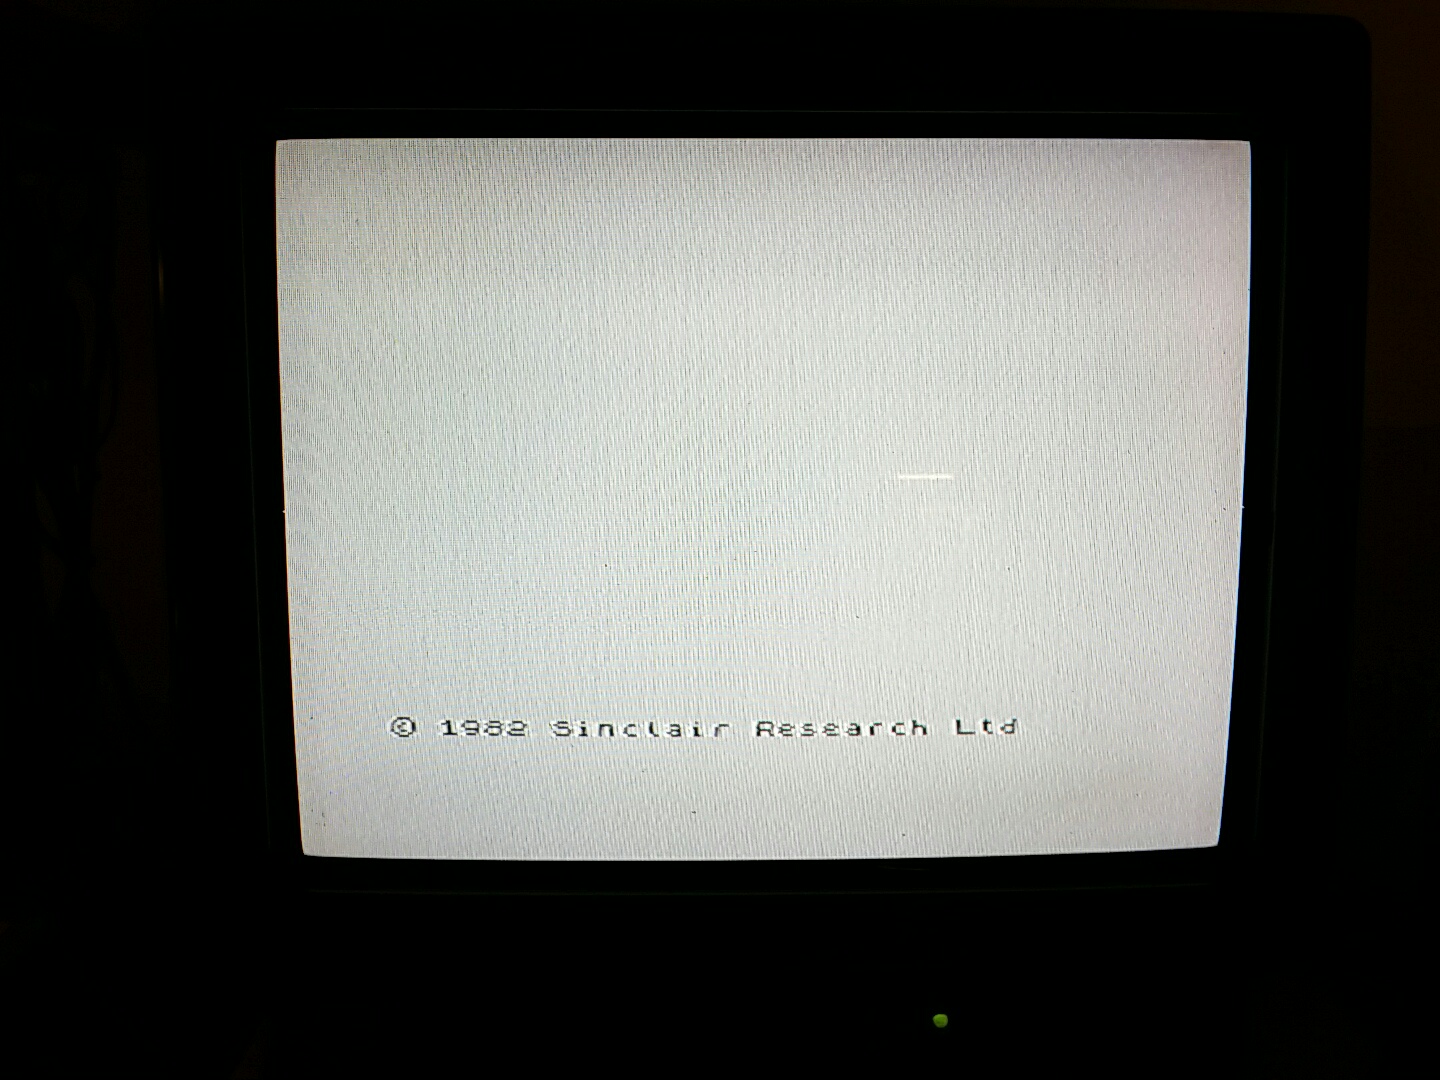
Fig. 3: The welcome screen on a 14-inch TV set connected by antenna signal. The screen is black and white and the signal quality is far from outstanding.
Cooling down the ULA and building an audio cable
It is notoriously tricky to take this computer apart, because of the fragility of the original keyboard membrane. However, in 2018 new membranes are available and I had the pleasant surprise to find that my machine already had one (NOTE: it did not last very long, unfortunately, see this paragraph). I could therefore open it without any problem and without any surprise it revealed being an Issue 2, shown in fig. 4. It is quite a nice board, with the ULA chip on the left, the Z80 processor on the centre-right, the ROM at the right of the processor, the RAM at the bottom and a collection of glue logic chips scattered elsewhere, with the obligatory bunch of resistors and capacitors here and there. It was nice to see the date "28 aout 1984", in french, on the sticker on top of the heat sink. By the way, on the heatsink we found a classic 7805 linear regulator and the inductor part of the switching converter is above.

Fig. 4: As I expected, mine is an Issue 2 board. I had the good surprise that the keyboard membrane (not shown here) has been replaced recently, but unfortunately it did not last long, probably because I opened the computer too many times...
I could run for a certain time the Spectrum and I noticed that the ULA tends to get quite hot. Usually, I do not bother about warm chips, but in this case I had problems to keep my finger on it and that is usually saying that it may be wise to use a heatsink. I glued a small aluminium plate, as the clearance above the circuit once the box is closed is not very high. I used a small quantity of cement and some thermally conductive grease. The result is visible in fig. 5.

Fig. 5: The ULA chip runs very hot during normal use. I put a metal plate as a small heatsink to reduce temperature.
I then had to find a way to load programs from cassette and in my first tests, I used my trustworthy stereo cassette deck. It took a while to me to realize that stereo cables would not work because of the way the ground connection is done in the female jack connectors on the Spectrum (the audio input is the EAR connector). In fact, the tip of the jack is tied to the audio signal, but the ground contact in the Spectrum touches the jack where there is a ring, usually associated to the right signal in a modern stereo jack. As shown in fig. 6, I could sort that out with a few alligator clips and I could understand how things work.

Fig. 6: Testing connections on the EAR plug to load software on cassettes. I was also monitoring signals with an oscilloscope.
I built a permanent cable with two stereo jacks, as shown in figure 7 but there are websites such as [1] that describe different approaches. I noticed that the Spectrum requires a quite high amplitude signals to work reliably. By the way, the small buzzer inside the Spectrum lets you hear the signal while loading (gently). However, my laptop computer seems to handle this task adequately most of the times.
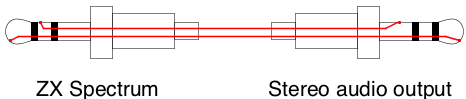
Fig. 7: Schematic view of the cable I built, with two stereo male 3.5mm jack connectors (drawn with FidoCadJ).
Composite video mod
I could therefore find a way to load programs and it was nice, but the image quality visible in figure 8 was quite crap: B/W and very noisy. For a moment I wondered about colour standards in analog TV's as I had a Spectrum sold in France and my TV set was using PAL (France used SECAM). Then I learned that Spectra (I do not like 'Spectrums') sold in Europe were only made for the PAL system and people in France used either a multistandard TV or an expansion to obtain RGB signals that could be used with a SCART connection. Of course, not without a certain hassle, as the Spectrum puts combined colour signals on the connector, and not RGB signals.
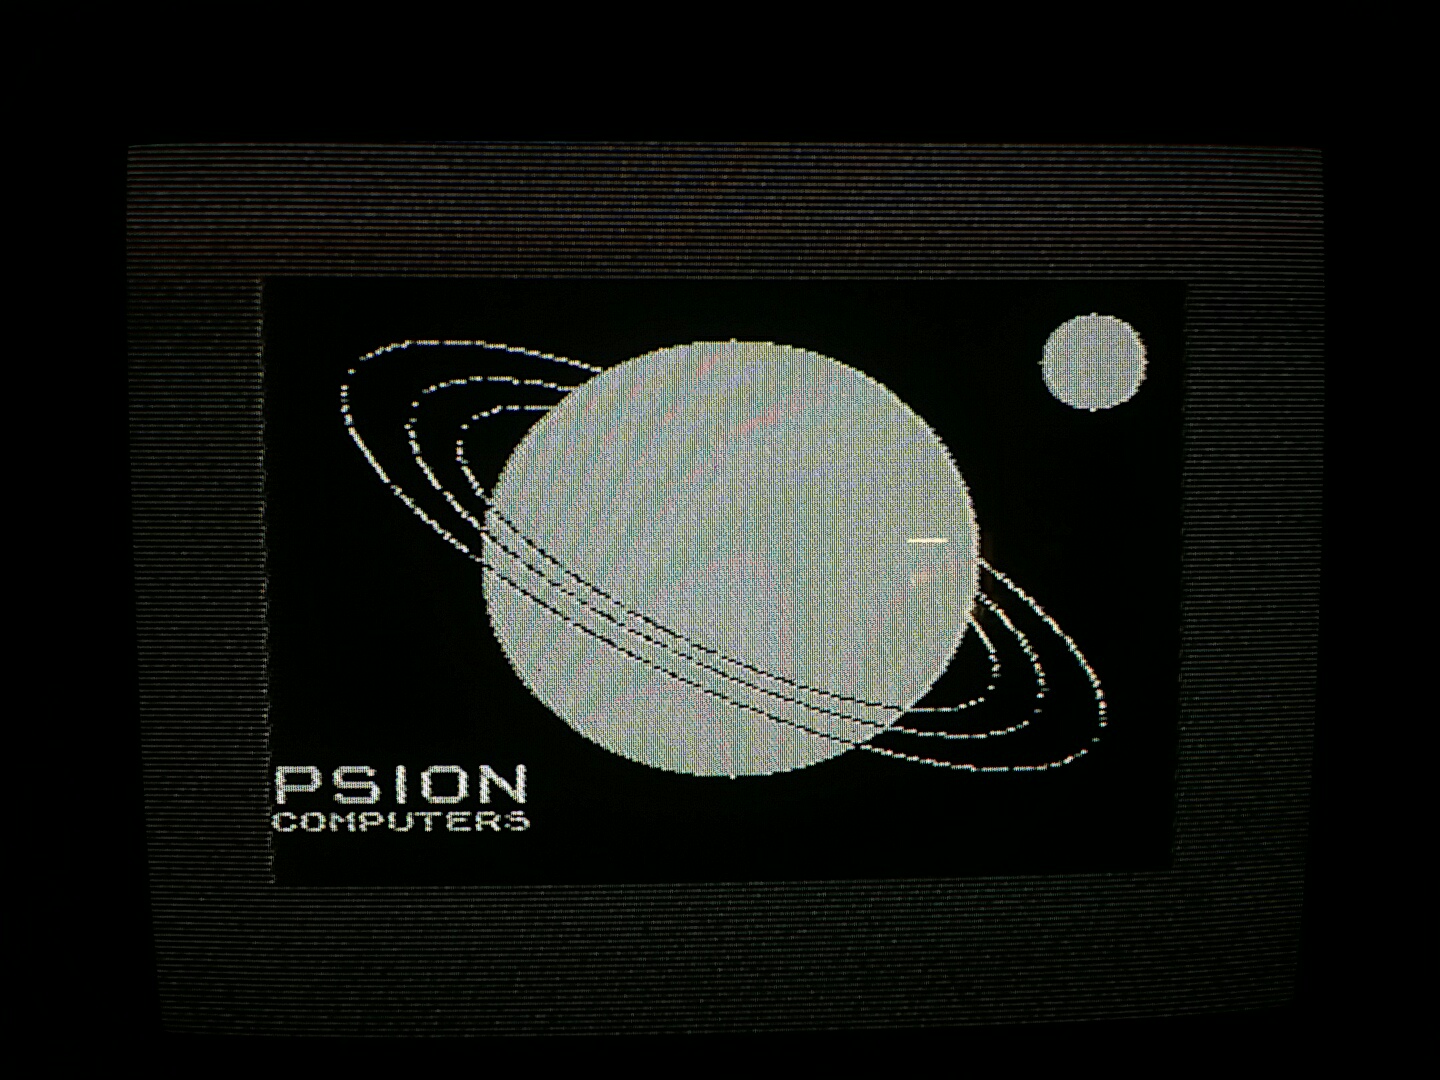
Fig. 8: Loading works, but, hey, it is black and white!
After a few searches and having had a look at the video signal entering the modulator, I concluded that the culprit was just the RF modulator, slight out of tune. I could fix that by slightly adjusting the ferrite screw core that is visible on the modulator in fig. 4, with a small plastic screwdriver. I could obtain a colour picture, but very noisy and quite unpleasant, at least if compared with what I get from my C128 with a composite connection. I then decided to modify my Spectrum to obtain a composite video output, instead of a RF signal, by excluding completely the modulator. It turns out that it is a quite simple mod, the result is shown in figure 9, that can be easily reversed (it is described in [2]). I love classic cars and I learnt there the importance of the originality: I did not want to do something that would be impossible to revert. The result, on a professional CRT monitor is shown in figure 10 and is gorgeous.
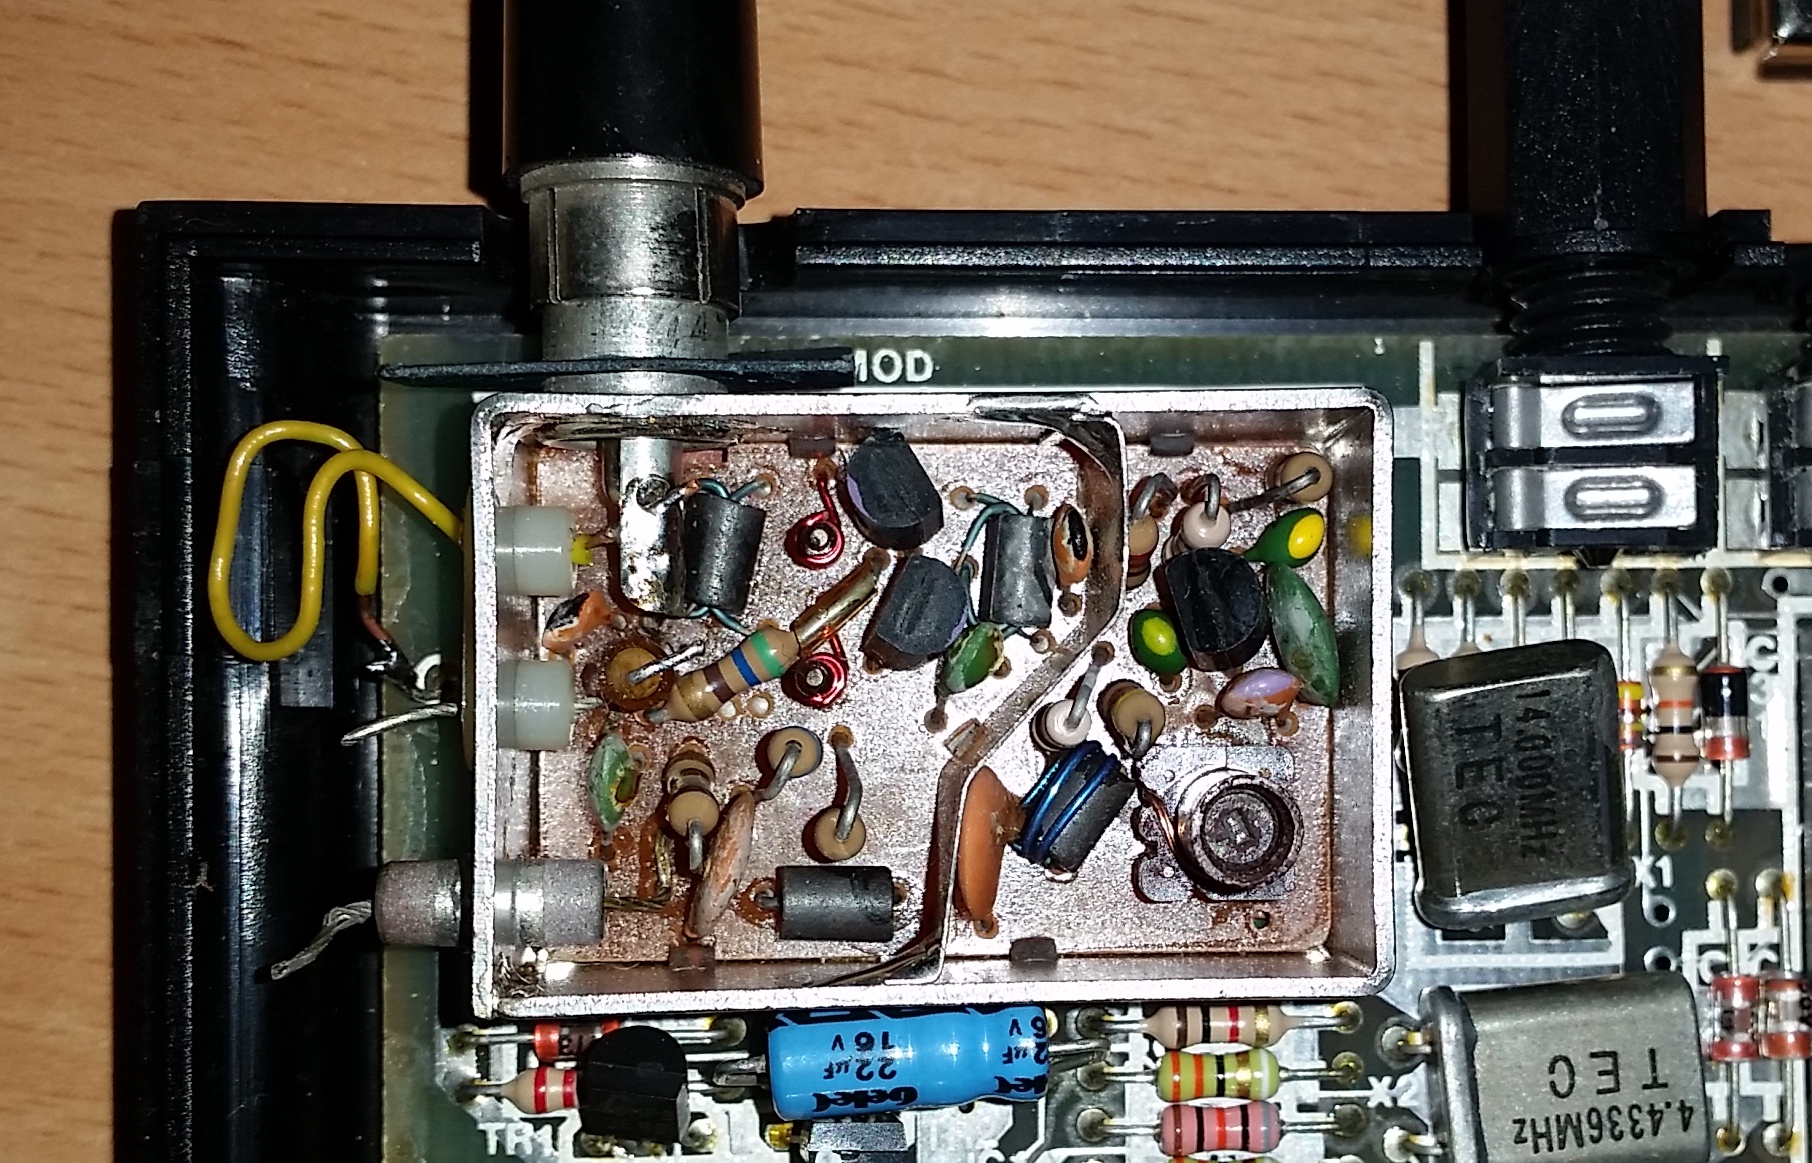
Fig. 9: The composite mod excluding the RF modulator. Yellow wire could be shorter.
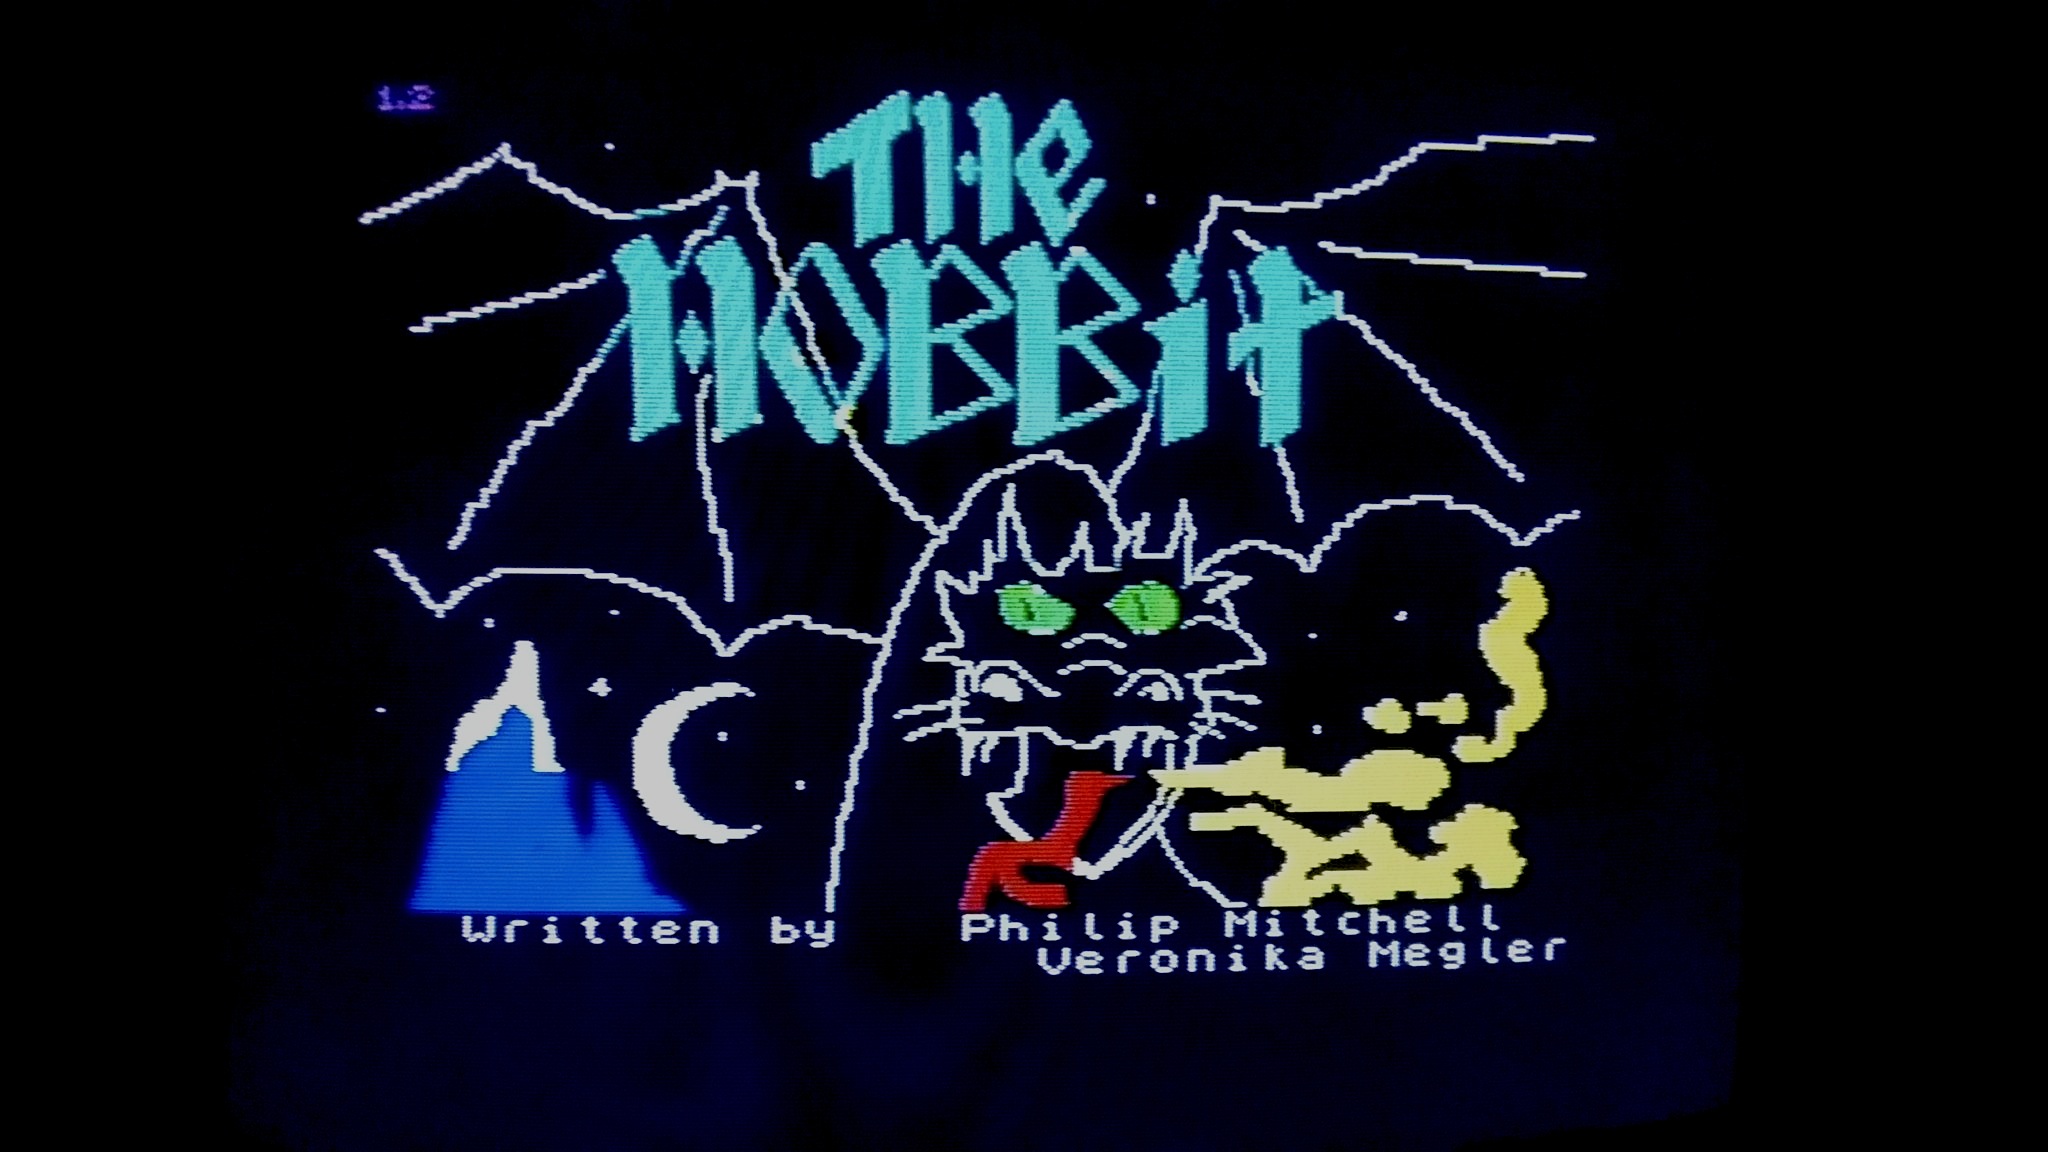
Fig. 10: A beautiful colour picture shown on a Sony PVM, after modifying the Spectrum to obtain a composite output.
divMMC Future, a SD card reader
After a few weeks, I realised that using the cassette player in 2018 was not very convenient. Some games are easily available in a WAV format and can be loaded from a laptop, but the Spectrum requires quite a high sound level and the computer I used was quite weak from this point of view. As a result, I obtained often a "load error" and I had to restart the loading process several times, hoping to be lucky each time. The second difficulty was that I found awkward to play any game with the rubber keyboard, especially those that required to use cursor keys that on the keyboard are arranged in a way I am not used at all (keys 5, 6, 7, 8 yields left, up, down, right respectively).
A very convenient solution to both issues is the divMMC Future (release 1.3), a SD card reader that I bought from the well known "Future was 8 bit" store. The device very appropriately provides also an interface to ATARI-style joysticks. A few days later, I received a nicely packaged device, in a static-dissipative bag, as visible in figure 11. Figure 12 shows the excellent match with the classic rubber key ZX Spectrum and the result is very pleasant. The connector is keyed and there nothing that can possibly go wrong, at least if you switch off the power before installing the divMMC Future in the computer. The divMMC Future comes in a beautiful and professional injection-moulded black plastic case and has two buttons: the upper one contains a bi-colour LED and can be pressed to activate the reader, the lower one is a reset button. The LED is red when the Spectrum is operating in the normal way and is green when the divMMC Future controls the computer.
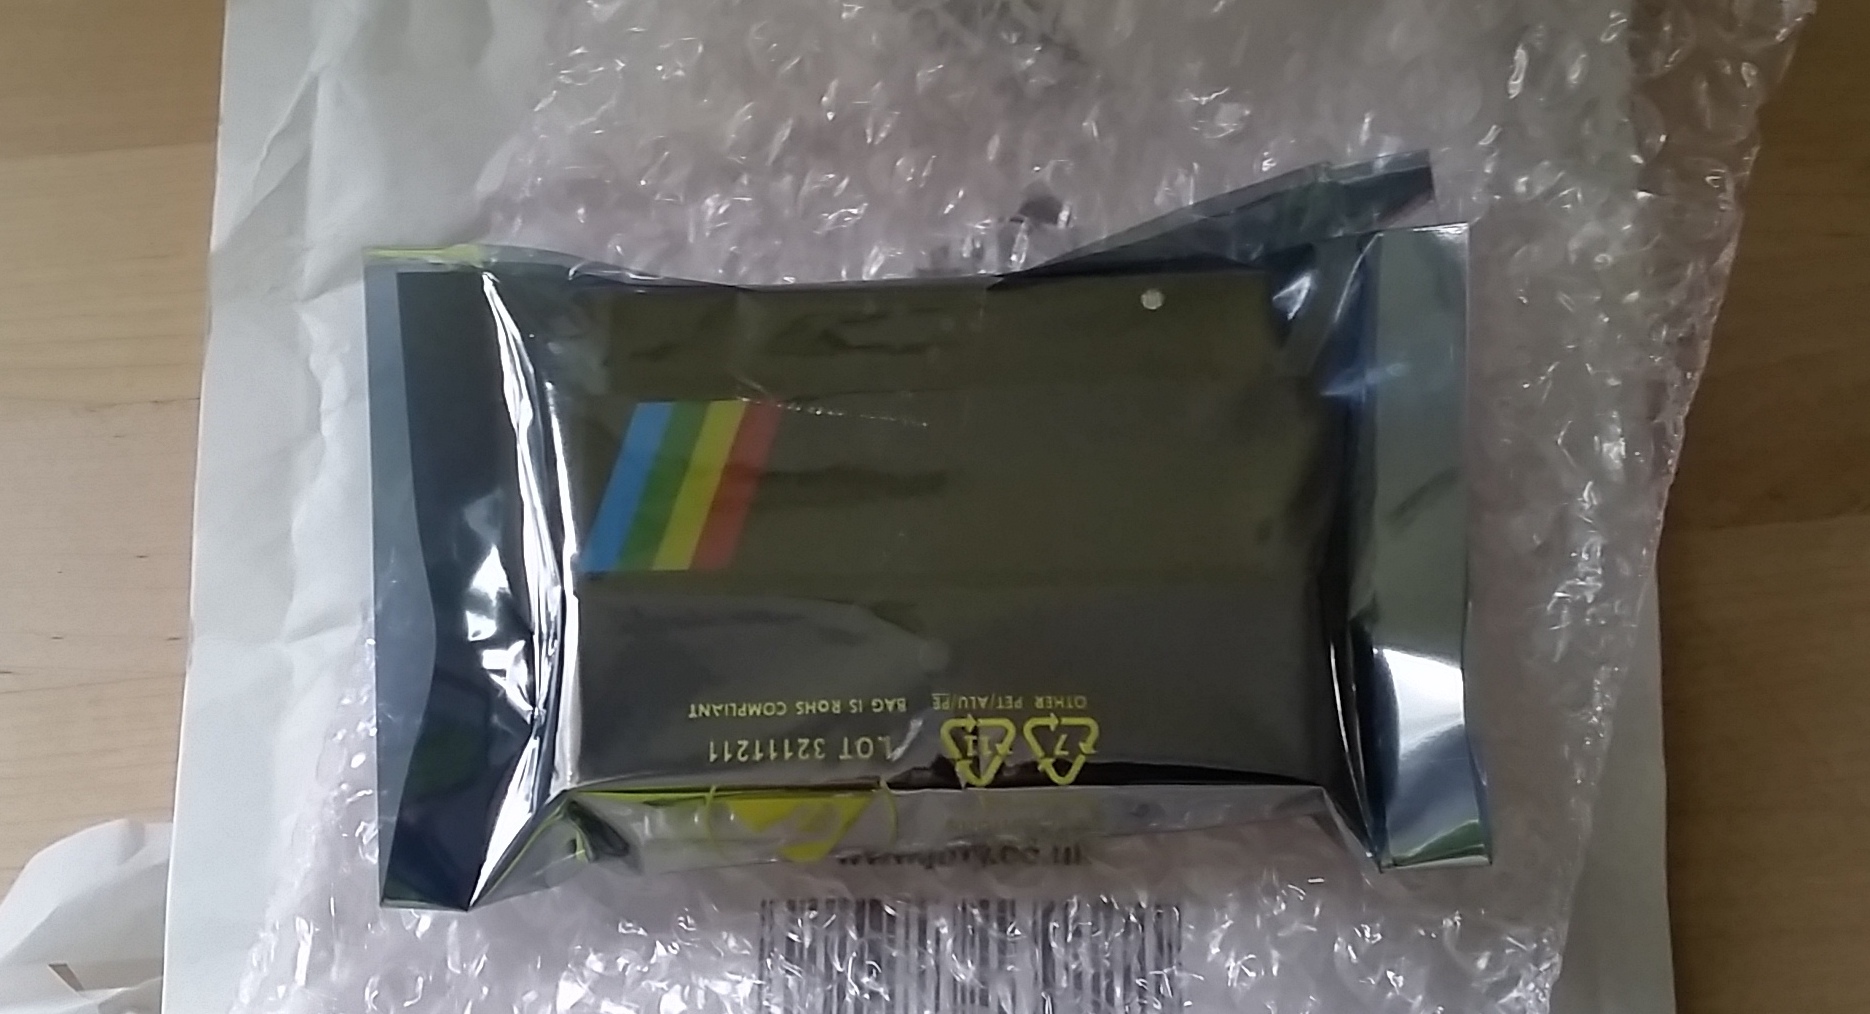
Fig. 11: The divMMC out of the parcel, still wrapped in a static dissipative bag.
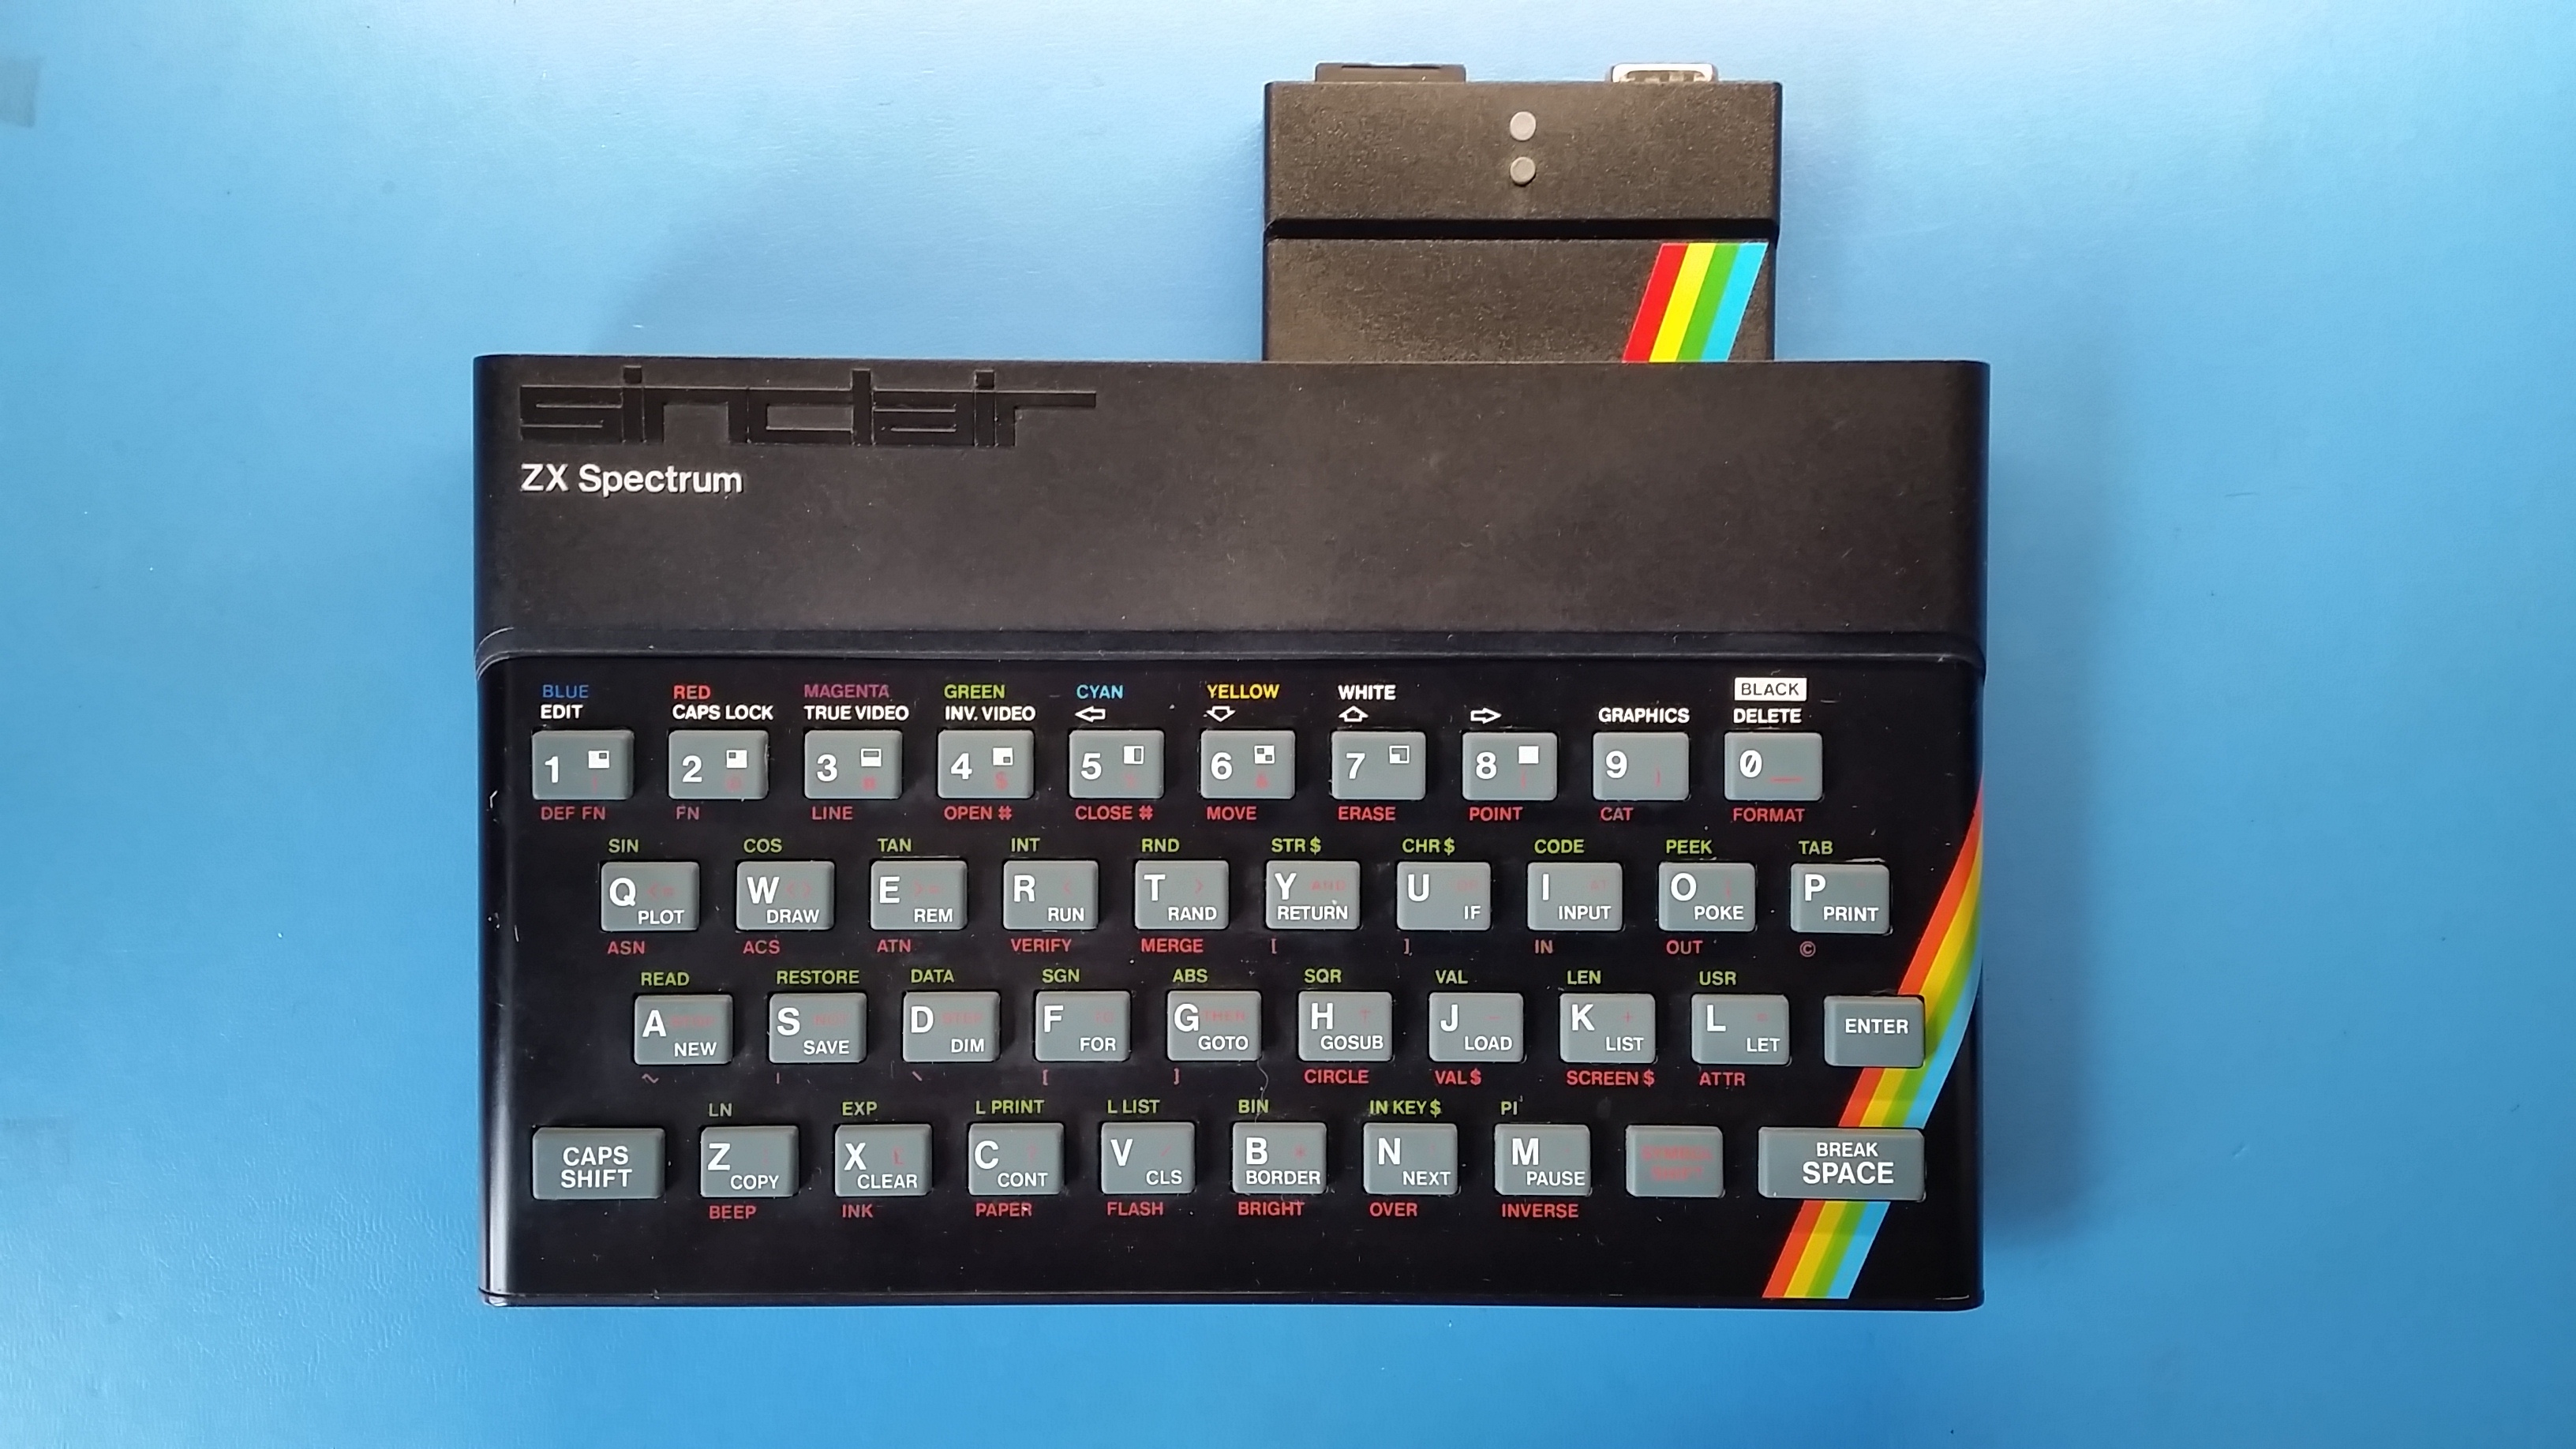
Fig. 12: The divMMC installed on my ZX Spectrum 48K.
When you switch on the computer, the divMMC Future performs a check and seeks for some system files (ESXDOS.SYS, NMI.SYS, BETADISK.SYS) that should be available on a SYS directory on the SD card. In fact, the divMMC Future runs esxDOS (it stands for "Enhanced Speccy eXperience" DOS), a very effective firmware that has been developed in the past for similar systems [4], [5]. An interesting account of the development of the divMMC Future hardware is available on [6].
What is important for us is that you can very easily browse your SD card, by pressing the top button (the one with the LED inside) on the divMMC Future at any moment when the computer is on. Figure 13 shows the help screen of the browser, that is quite elementary to use.

Fig. 13: The help screen of the navigation system.
The SD card must be formatted as FAT-16 or FAT-32. You can then browse your SD card and load any program that comes as a file with extensions TAP, SCR, SNA, Z80, TRD, BASIC by pressing the Enter key. The program loads instantaneously. That is all and it is really so simple. It is tremendously effective and very appropriate for the 21st century :-)
I bought a preloaded SD card, that is a 8 GB card containing some preloaded software (among which nice demos for the C64 too). Complete archives with almost all piece of software written for the ZX Spectrum can be downloaded, but I found it better to select only some quality software, as it is not convenient to scroll in a directory containing more than 500 files to find what you search for.
If the nice browser is not enough for you, the esxDOS modifies several BASIC commands to allow to use the SD card (shown in table 1). Figure 14 shows the result of the CAT command (which stands for CATalogue), showing the contents of the current directory. There is a second class of commands represented by system commands. They are files placed in the /BIN directory, and they can be launched by typing ".command", followed by arguments. They come in a quite Unix-style flavoured mix that comprises .ls, .cd, .cp, .mkdir, .more, .chmod and many others. In some cases, you can obtain a help by typing "-h" as an argument. There is also a number of API available that claim to be POSIX compatible, if you want to write your own commands.
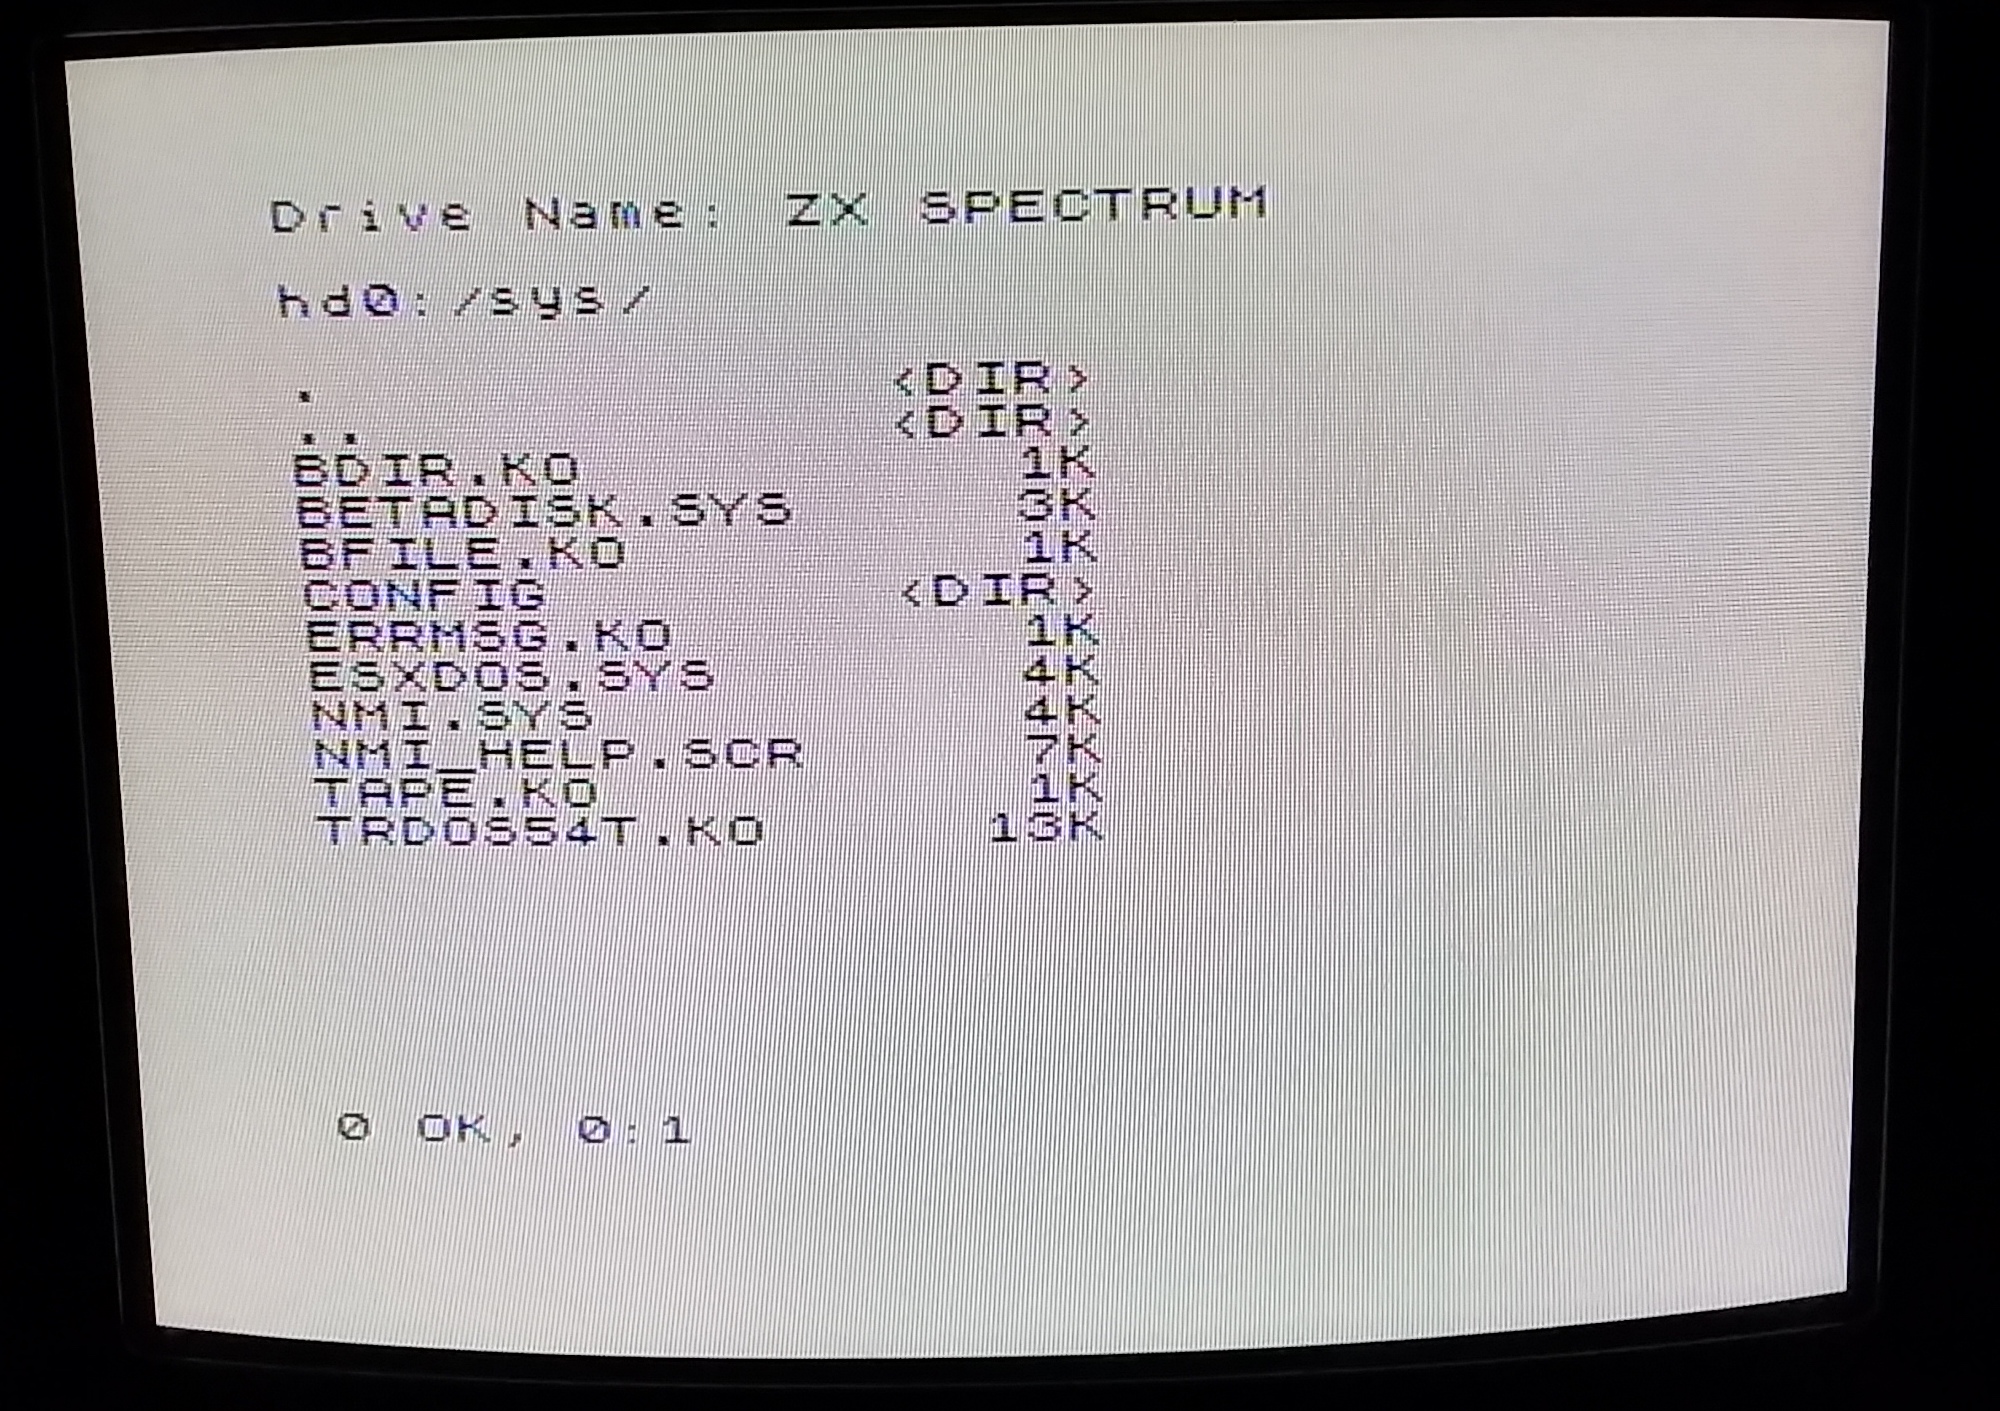
Fig. 14: The result of a CAT command.
| Command | Description |
| GOTO [drive] ["path"] | Enter a directory. |
| CAT [drive] | Show the content of the current directory. |
| LOAD drive "path/filename" | Load a file. |
| SAVE drive "path/filename" | Save on a file. |
| ERASE [drive] "path/filename" | Erase a file. |
Tab. 1: A summary of improved BASIC commands.

Fig. 15: I wanted to try this one since 1987!
The ZX Spectrum does not have a joystick port and this is a huge disadvantage. You can use the keyboard, but I personally did not find that many of the layouts chosen were very intuitive, at least for my hands. The rubber keyboard is also quite challenging by itself. The divMMC Future provides an interface that allows you to connect an ATARI-like joystick that is seen by the ZX Spectrum as the "Kempston" joystick, that in 1980's was one very popular interface, supported by many games.
There is not much else to say, apart relax and playing games, as shown in figure 15, 16 and 17. The divMMC Future is highly useful and greatly improves the experience of using this neat little computer. I am not the first to say that, but it is quite worth buying it, even if it comes almost at the price I paid the whole computer.

Fig. 16: Nice ZX Spectrum graphics.
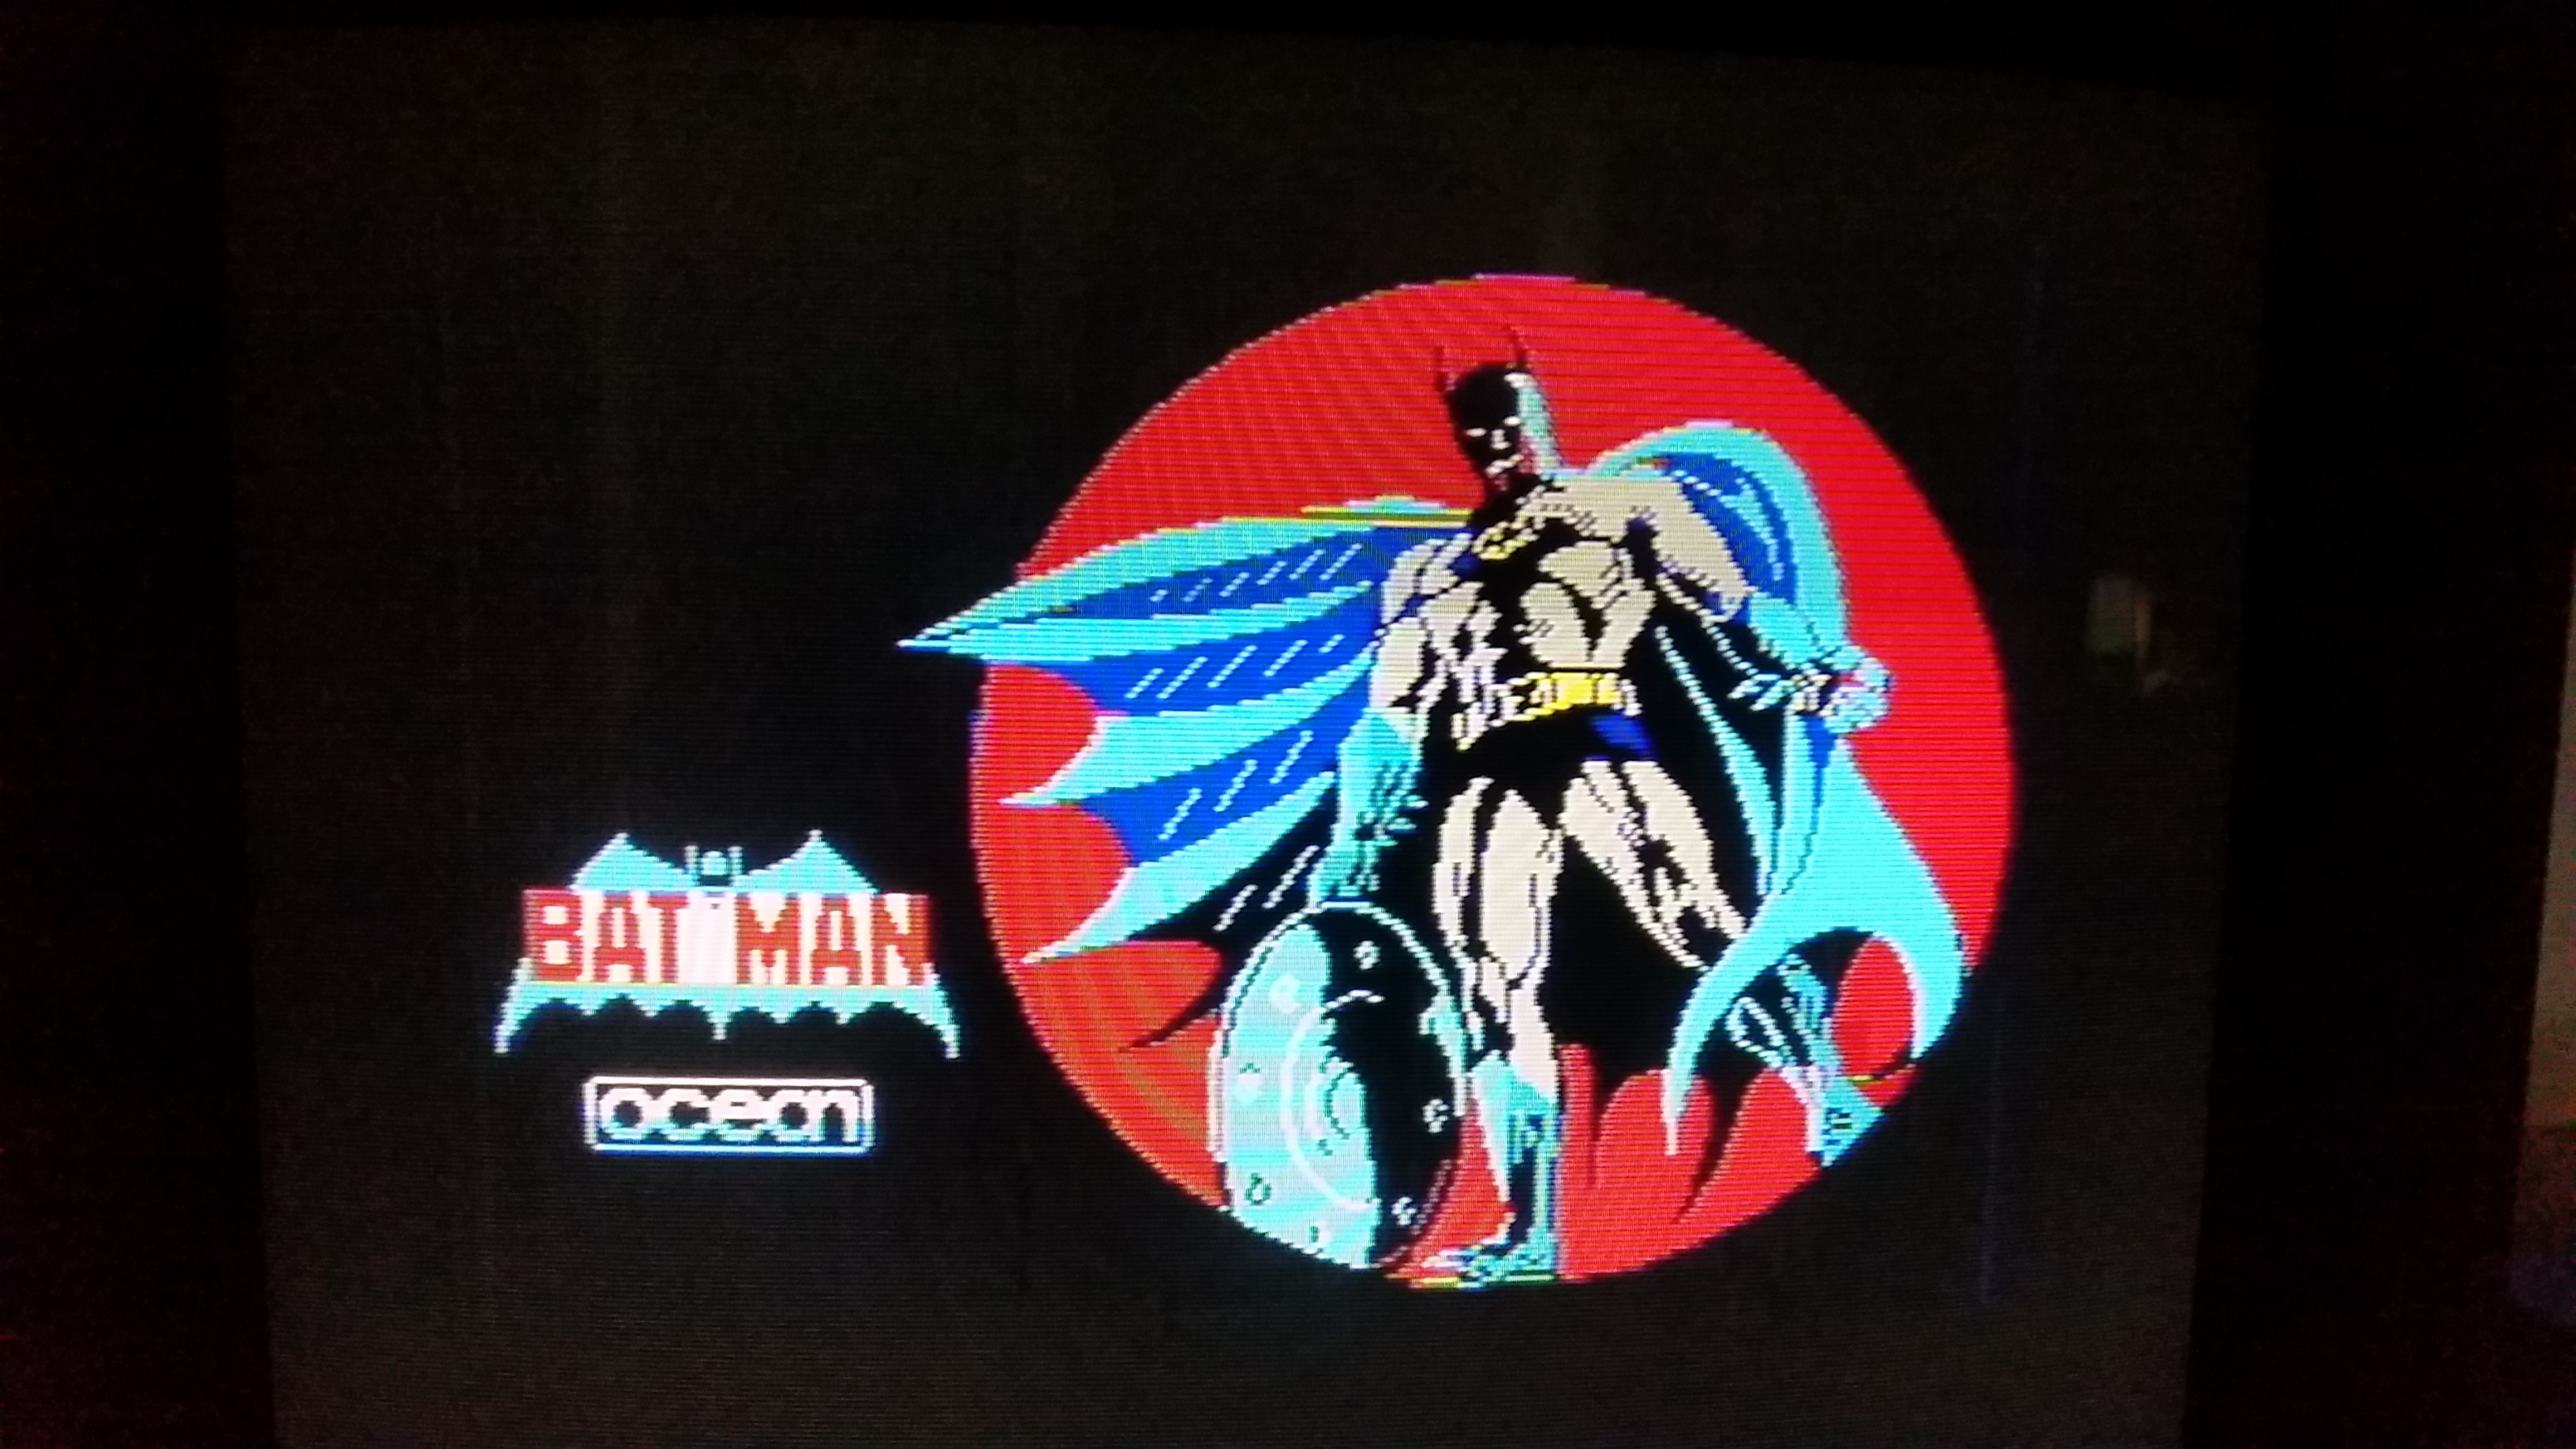
Fig. 17: BAT MAN.
Replacing the keyboard membrane
Unfortunately, moved by my curiosity I opened and closed this little computer too many times. The connectors of the keyboard membrane are extremely fragile and could not stand this. I managed to repair them with some conductive ink, but after a few months I decided to buy a new membrane. Fortunately, they can be found for a very sensible price on a well known online auction website...
Figure 18 shows the new membrane as I received it. I was very happy to see that at least visually the quality seemed to be reasonable. Disassembling the computer requires careful un-gluing the metal sheet on the top of the ZX Spectrum case. It is not difficult, but a steady and very delicate hand is required not to induce ugly dents in the sheet. Figure 19 shows the disassembled computer, with the old membrane still in place. It is a good idea to clean the rubber sheet with the key with some warm water and soap. As visible in figure 20, mine was moderately crusty, but still in need of a good bath given the colour of the water!
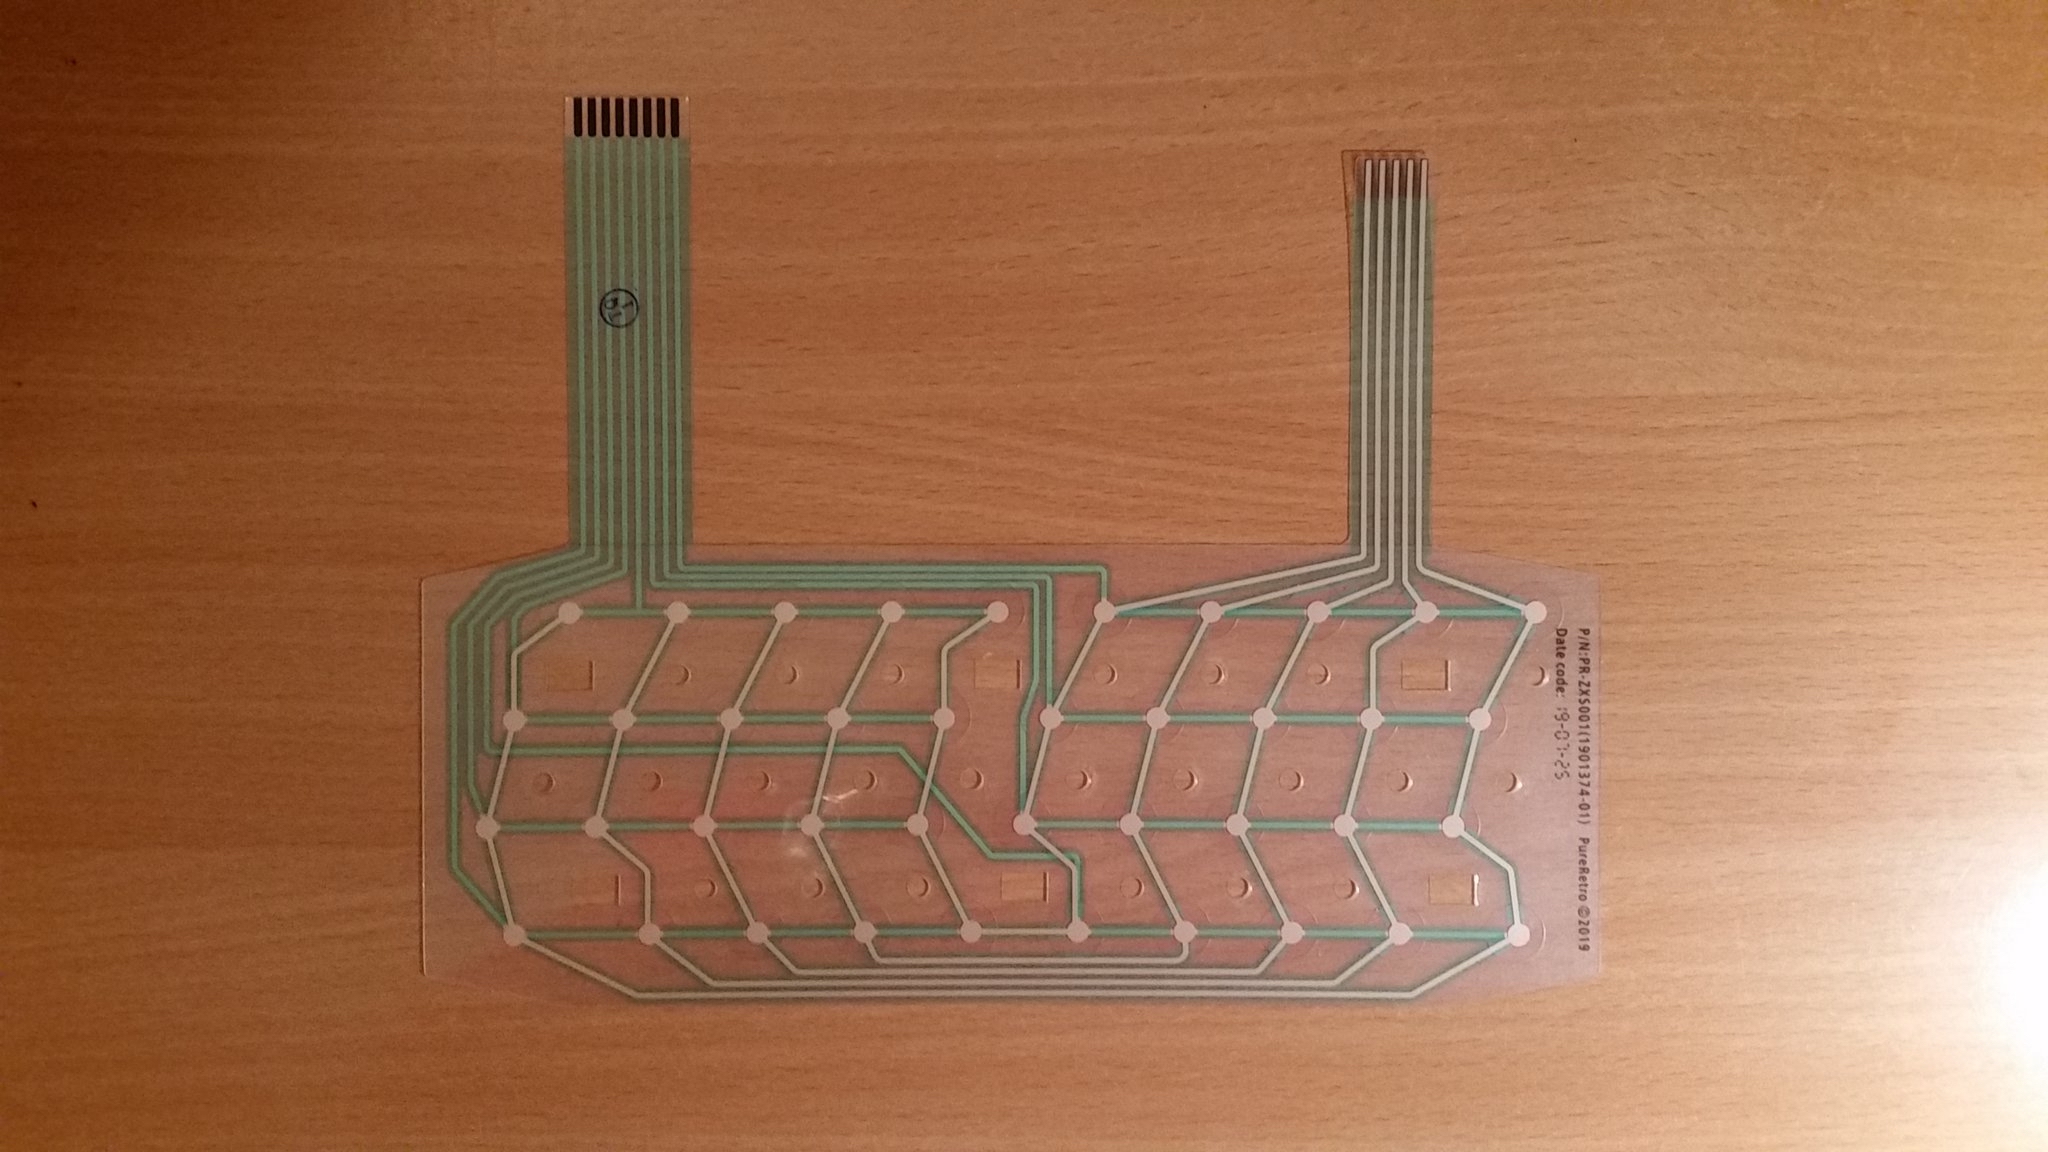
Fig. 18: The new membrane I bought. Built in 2019!

Fig. 19: Disassembling the ZX Spectrum. It is such a simple system.
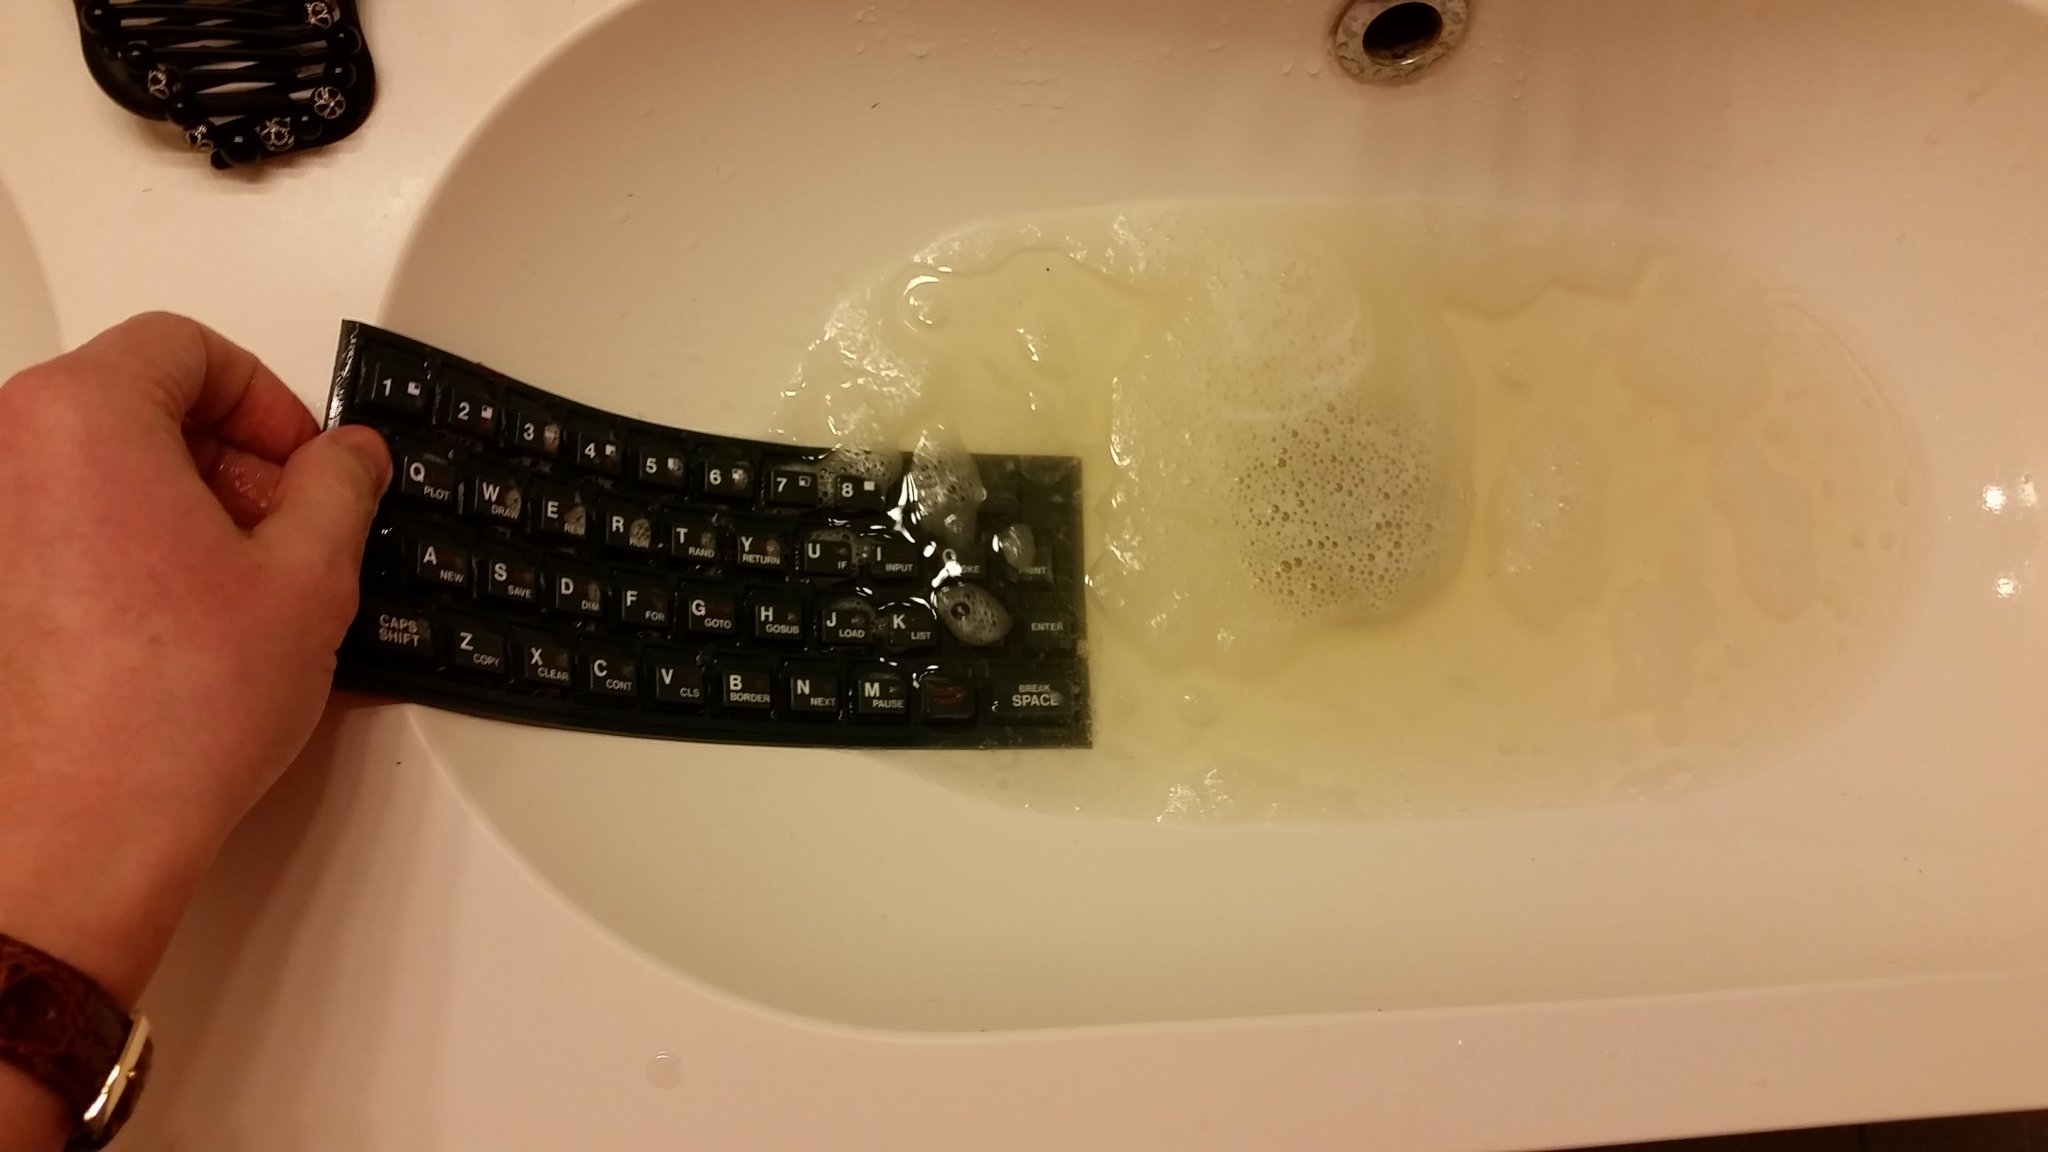
Fig. 20: A good clean of the rubber keys is useful.
Once the rubber sheet with the keys is perfectly dry on the two sides, you can reassemble the computer. It's quite simple: the membrane fits only when inserted in the right way and the two edges can be inserted in the mating connector on the circuit board only in one way. I did not have to change the double side adhesive tape that is used to keep the metal sheet against the plastic case, but I have probably been lucky. I turned on the computer and started typing flawlessly.
Conclusion
I really like this small computer. When I first had it in my hands, I was surprised that it was so small, and yet it gave a pleasant feeling. I sort of like very much even the infamous chicklet keyboard and the awkward combinations of keys it required to enter BASIC keywords. I also quite like the strange BASIC dialect. I think I know why I like all of those things. In fact, the ZX Spectrum is quite different from everything (apart the ZX81, of course). The BASIC is not the ubiquitous Microsoft interpreter. The keyboard is different, the feeling is different, the look is so classy with the small colour stripes on the right of the keyboard on the metal plate. In short: I think it was a great computer in 1982, I really enjoy to use it today and I do not regret having spent (a quite reasonable amount of) money to acquire it. I also strongly recommend the divMMC Future as a SD card reader and joystick interface in pair with the ZX Spectrum.
Linkography
[1] - Audio cable: https://retrocomputing.stackexchange.com/questions/773/loading-zx-spectrum-tape-audio-in-a-post-cassette-world
[2] - Composite mod: http://www.retrogamescollector.com/simple-zx-spectrum-composite-mod/
[3] - Future was 8 bit shop, divMMC Future: https://www.thefuturewas8bit.com/shop/sinclair/divmmcfuture.html
[4] - esxDOS website: http://www.esxdos.org/index.html
[5] - History of esxDOS: https://spectrumforeveryone.com/2017/04/history-esxdos-divmmc-divmmc-enjoy/
[6] - Designing the divMMC Future: http://blog.tynemouthsoftware.co.uk/2018/01/designing-divmmc-future.html
Log
February 7, 2020: Added paragraph about the keyboard membrane replacement
June 7, 2018: Page translated in italian language.
May 22, 2018: Translated divMMC Future review in french language.
April 8, 2018: Added divMMC Future review.
February 12, 2018: Added french translation.
February 11, 2018: Added figure 9, about composite mod.
February 10, 2018: first version of the page, in english.
License

This work is licensed under a CC BY, NC 4.0 licence.